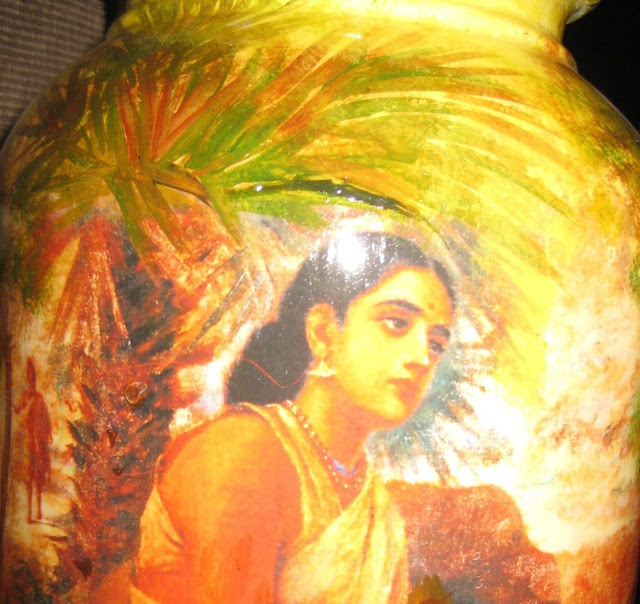
These are pictures of the decoupage project I recently completed.
Pardon the bad photography! But then as one of my uncles is fond of telling me, "If you insist on doing so many things and insist on doing everything perfectly, you are heading for the loony bin". I take up his philosophy as and when it suits my purposes.
This was one of the courses I had signed up for
(at the Continuing Education Programme - Women's College - Trivandrum) and completed in a hurry because of my husband's transfer.
The procedure is not as difficult as it seems - just time consuming and demands a lot of patience.

1. White water based cement primer is mixed with water in the ratio of 1:1.
2. Apply on pot and allow it to dry completely before giving the next coat. Do not dry in the sun as cracks may develop.
3. Apply a total of 8 coats of paint. Allow time for each coat to to dry completely.
4. With size 180 sand paper, rub the pot until it is perfectly smooth to touch.
5. This compensates for any blemishes on the pots.
6. Soak a picture printed on glossy photo paper in a tray of white vinegar face down.
7. Now, very carefully remove all the paper until only a glossy sheet is left.
8. Smoothen and place in a magazine and place a heavy book over it to remove any wrinkles.
9. Paste the picture on the smoothened pot bit by bit by applying a mixture of fevicol and water. Make sure there are no air bubbles. Allow it to dry.
10. Apply 3 coats of varnish (allowing about 8 hours day time drying time between coats) on the picture including about a centimeter just outside the picture.
11. Use size 180 sand paper to smoothen the edges of the picture and size 320 smoothen the picture itself. Use a circular motion.
12. 2 more coats of varnish on the entire pot. Rub with 320 sandpaper.
13. 2 more coats, rub. Give it one last coat and you are done.
12. With fabric or acrylic colours, paint the background to blend in with the picture.
The picture below highlights where the picture ends and the painting begins. You can make out the brush strokes.

No comments :
Post a Comment